
How do I create access areas?
- Where to find it
- Access points → Access areas → New access area
- How to check the result
- The access area is saved with its name and selected anti-passback setting.
On this page
An access area is the area a person enters or leaves through an access point – for example the construction area or a restricted safety zone. Every access point refers to an entry and an exit zone. So before configuring turnstiles or doors, create the matching access areas.
Quick answer
| Step | Description |
|---|---|
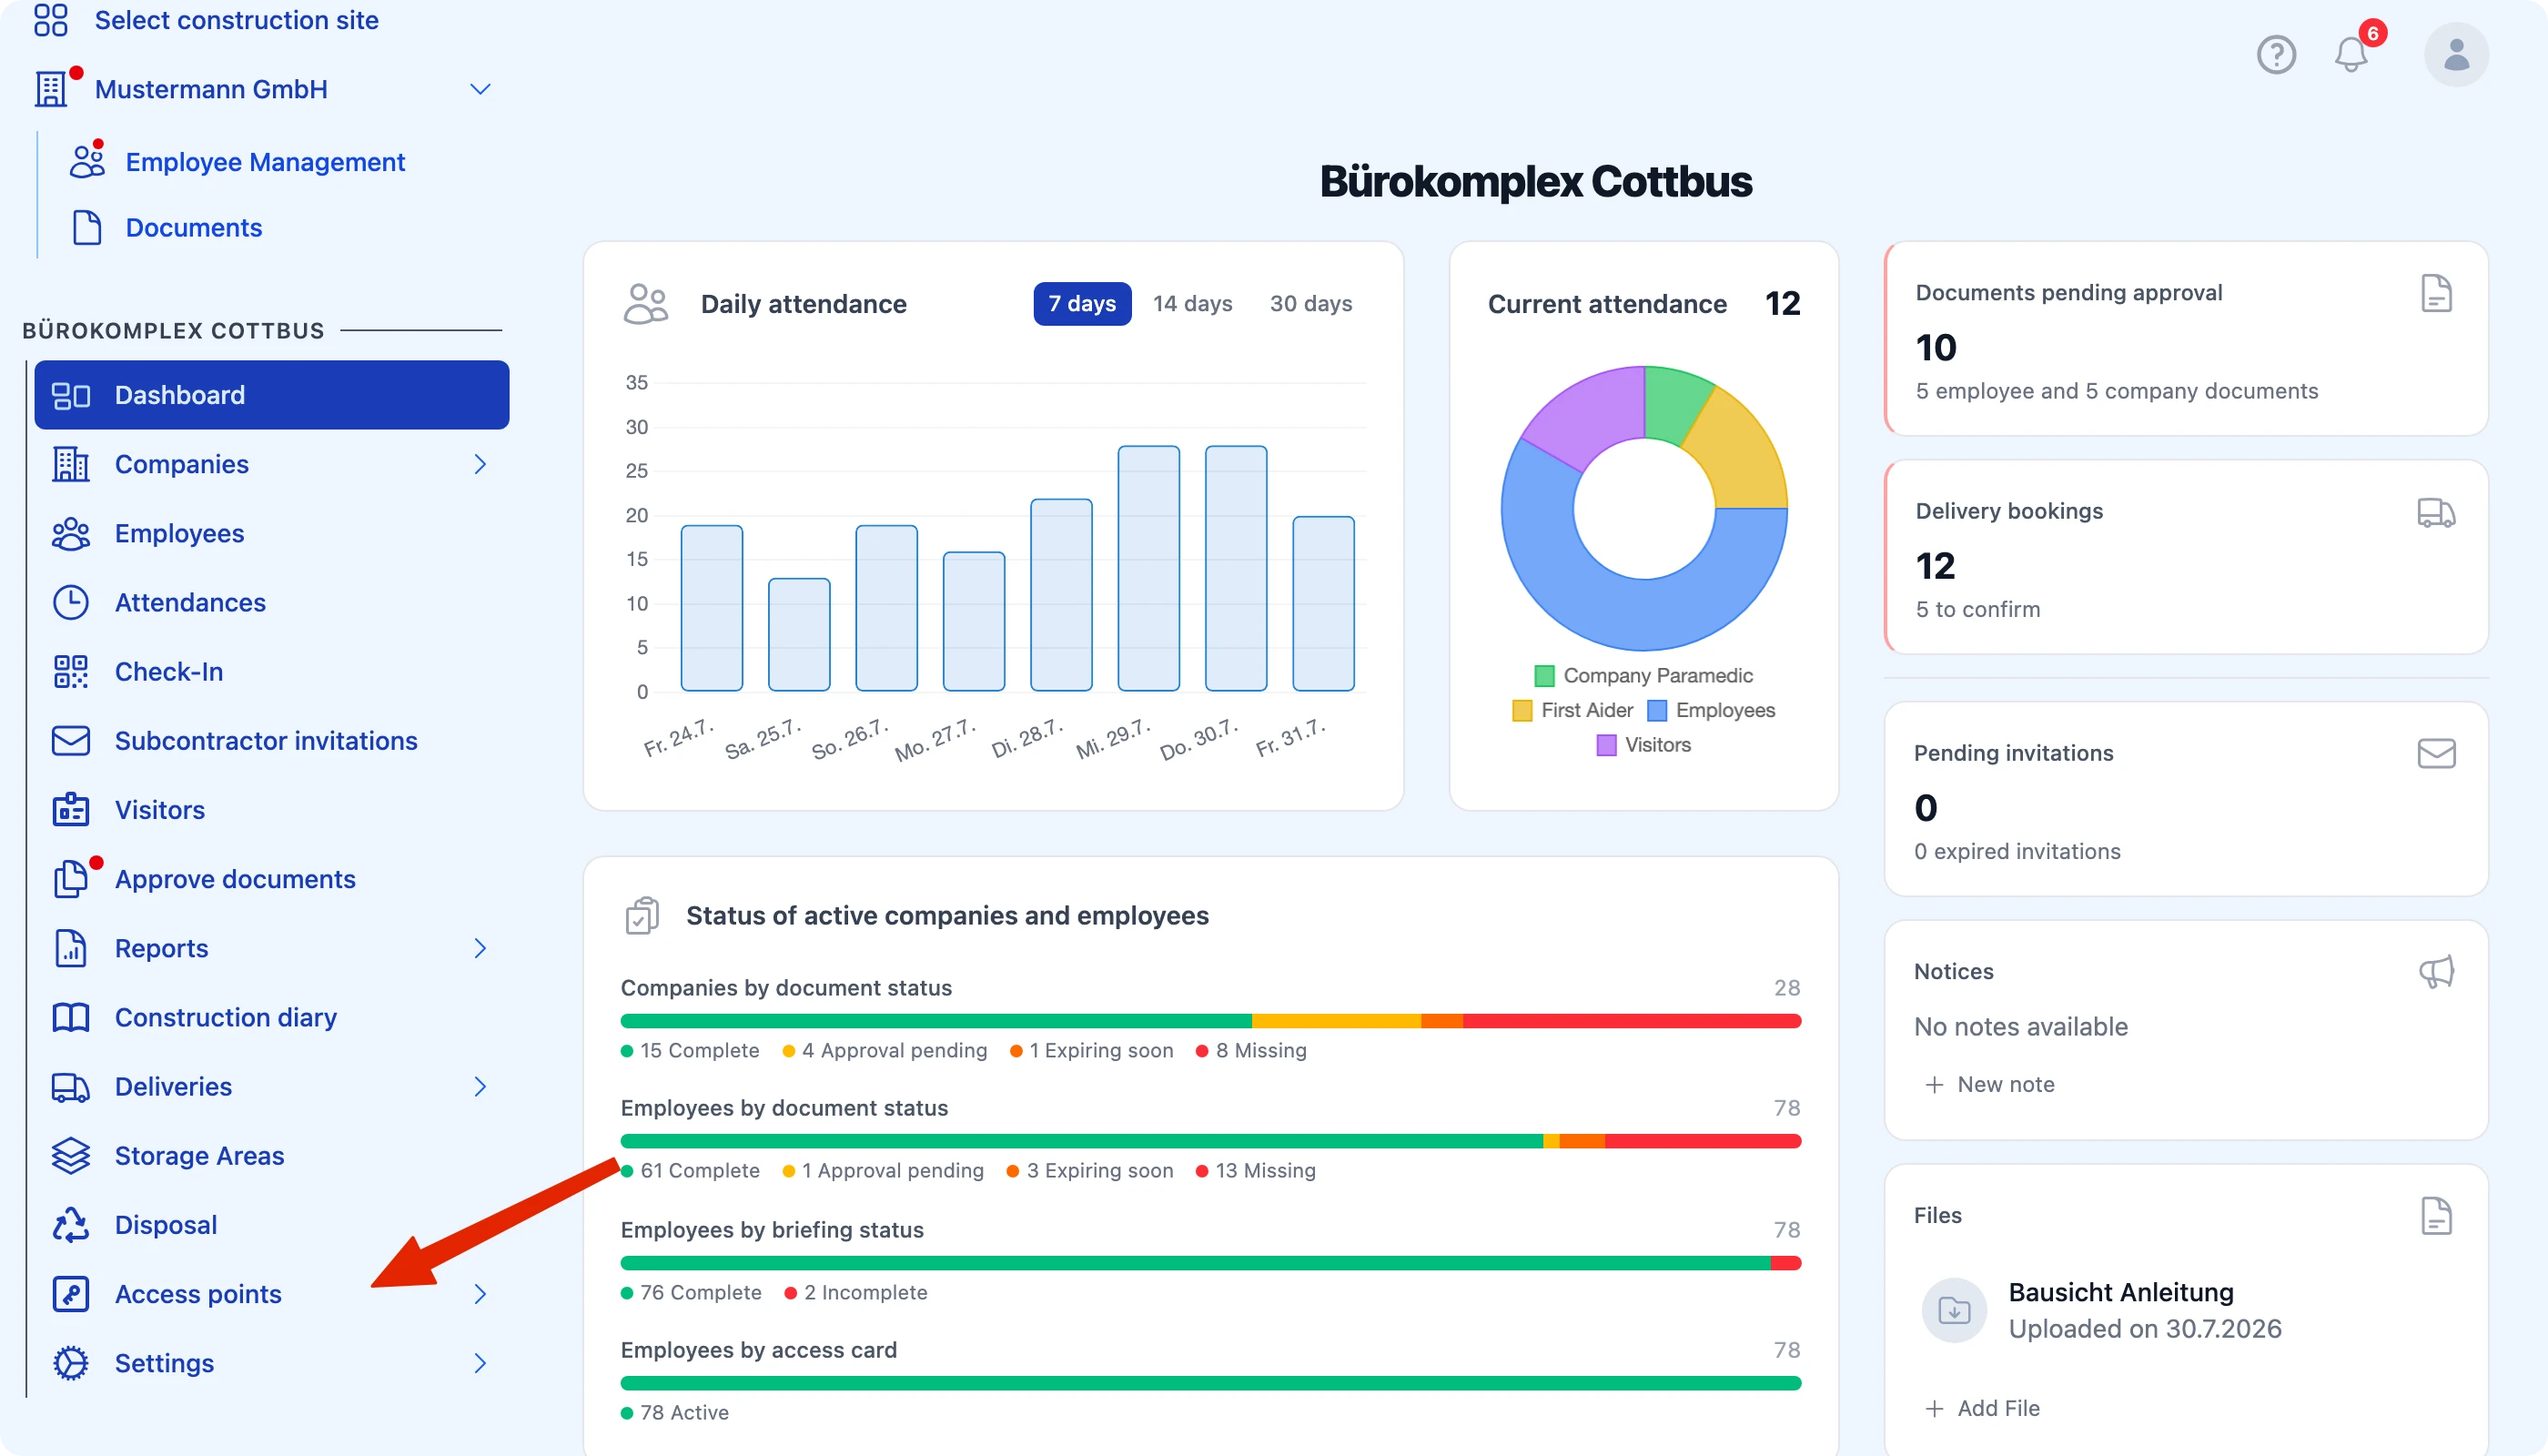
| 1 | Open Access points → Access areas |
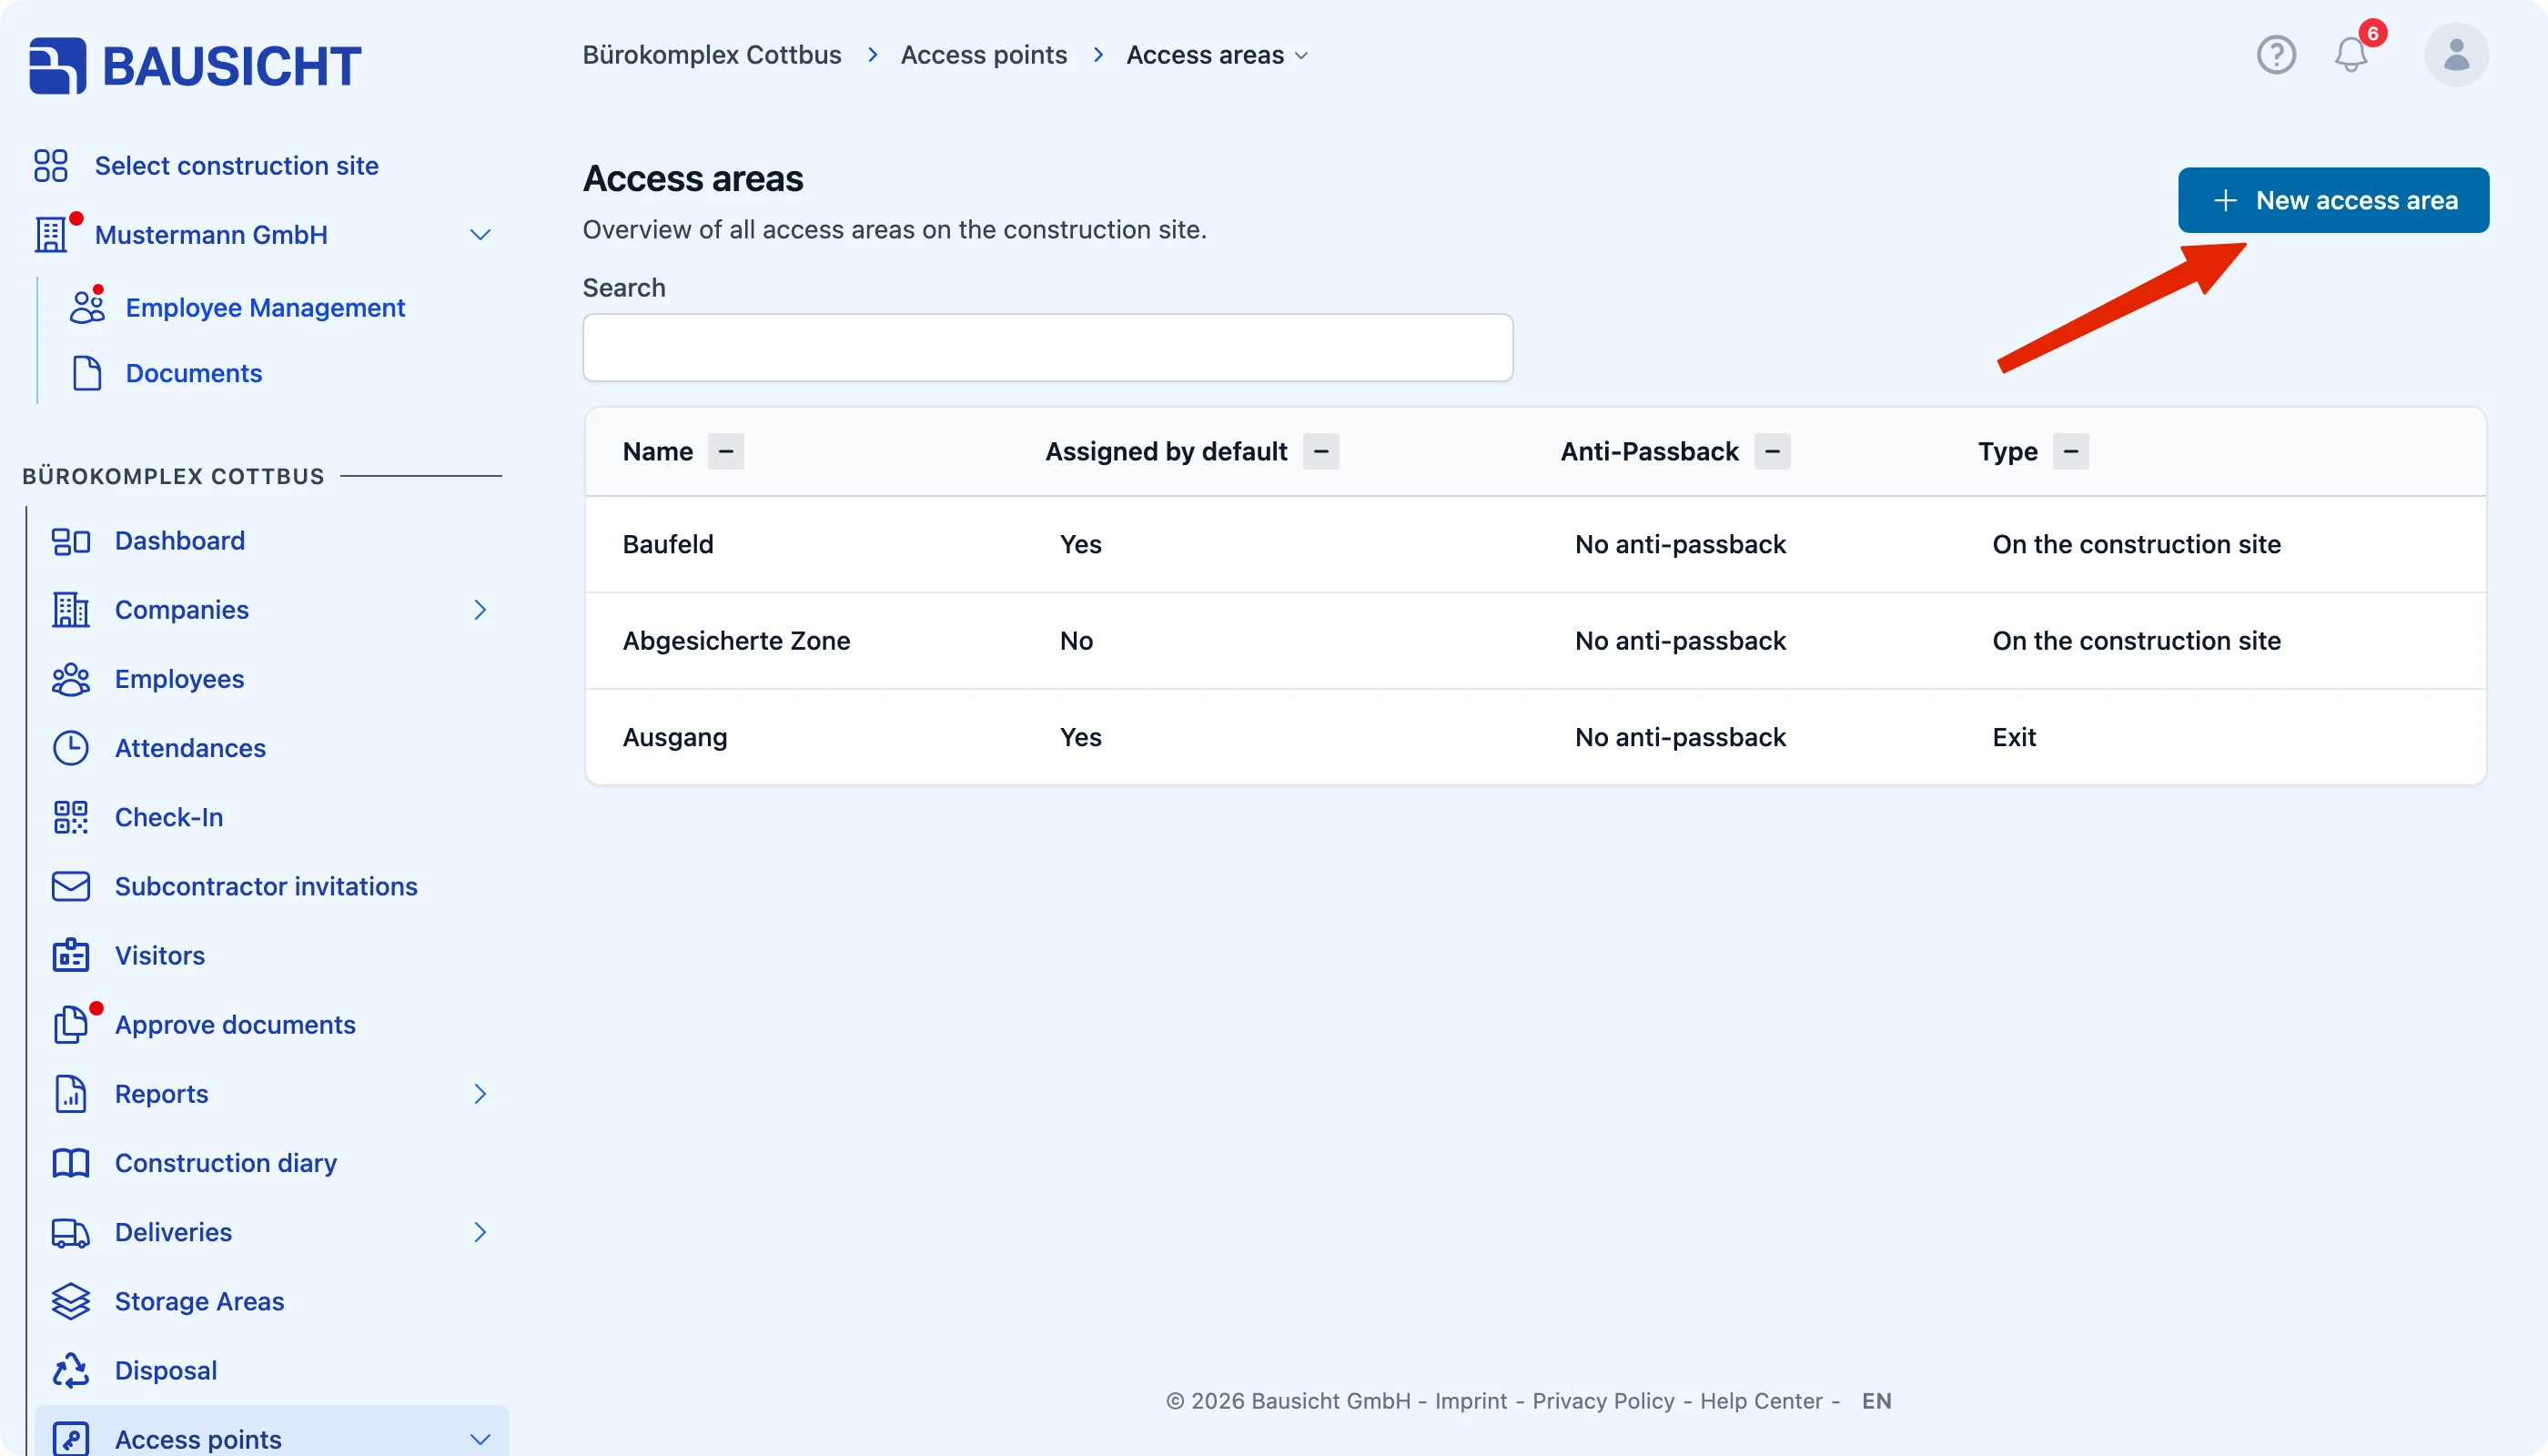
| 2 | Click New access area at the top right |
| 3 | Enter Name and Anti-Passback |
| 4 | Click Save |
Step 1: Open “Access points → Access areas”
The overview shows all existing areas with Name, Assigned by default, Anti-Passback and Type.
Step 2: Click “New access area”
Step 3: Configure the access area
| Field | Meaning |
|---|---|
| Name (required) | Label of the area, for example „Construction area“ |
| Anti-Passback (required) | Defines whether and how an access card is prevented from being used to enter twice in a row |
| Controlled exit zone | Determines whether leaving this area is checked as well |
| Assigned by default | New people automatically receive access to this area |
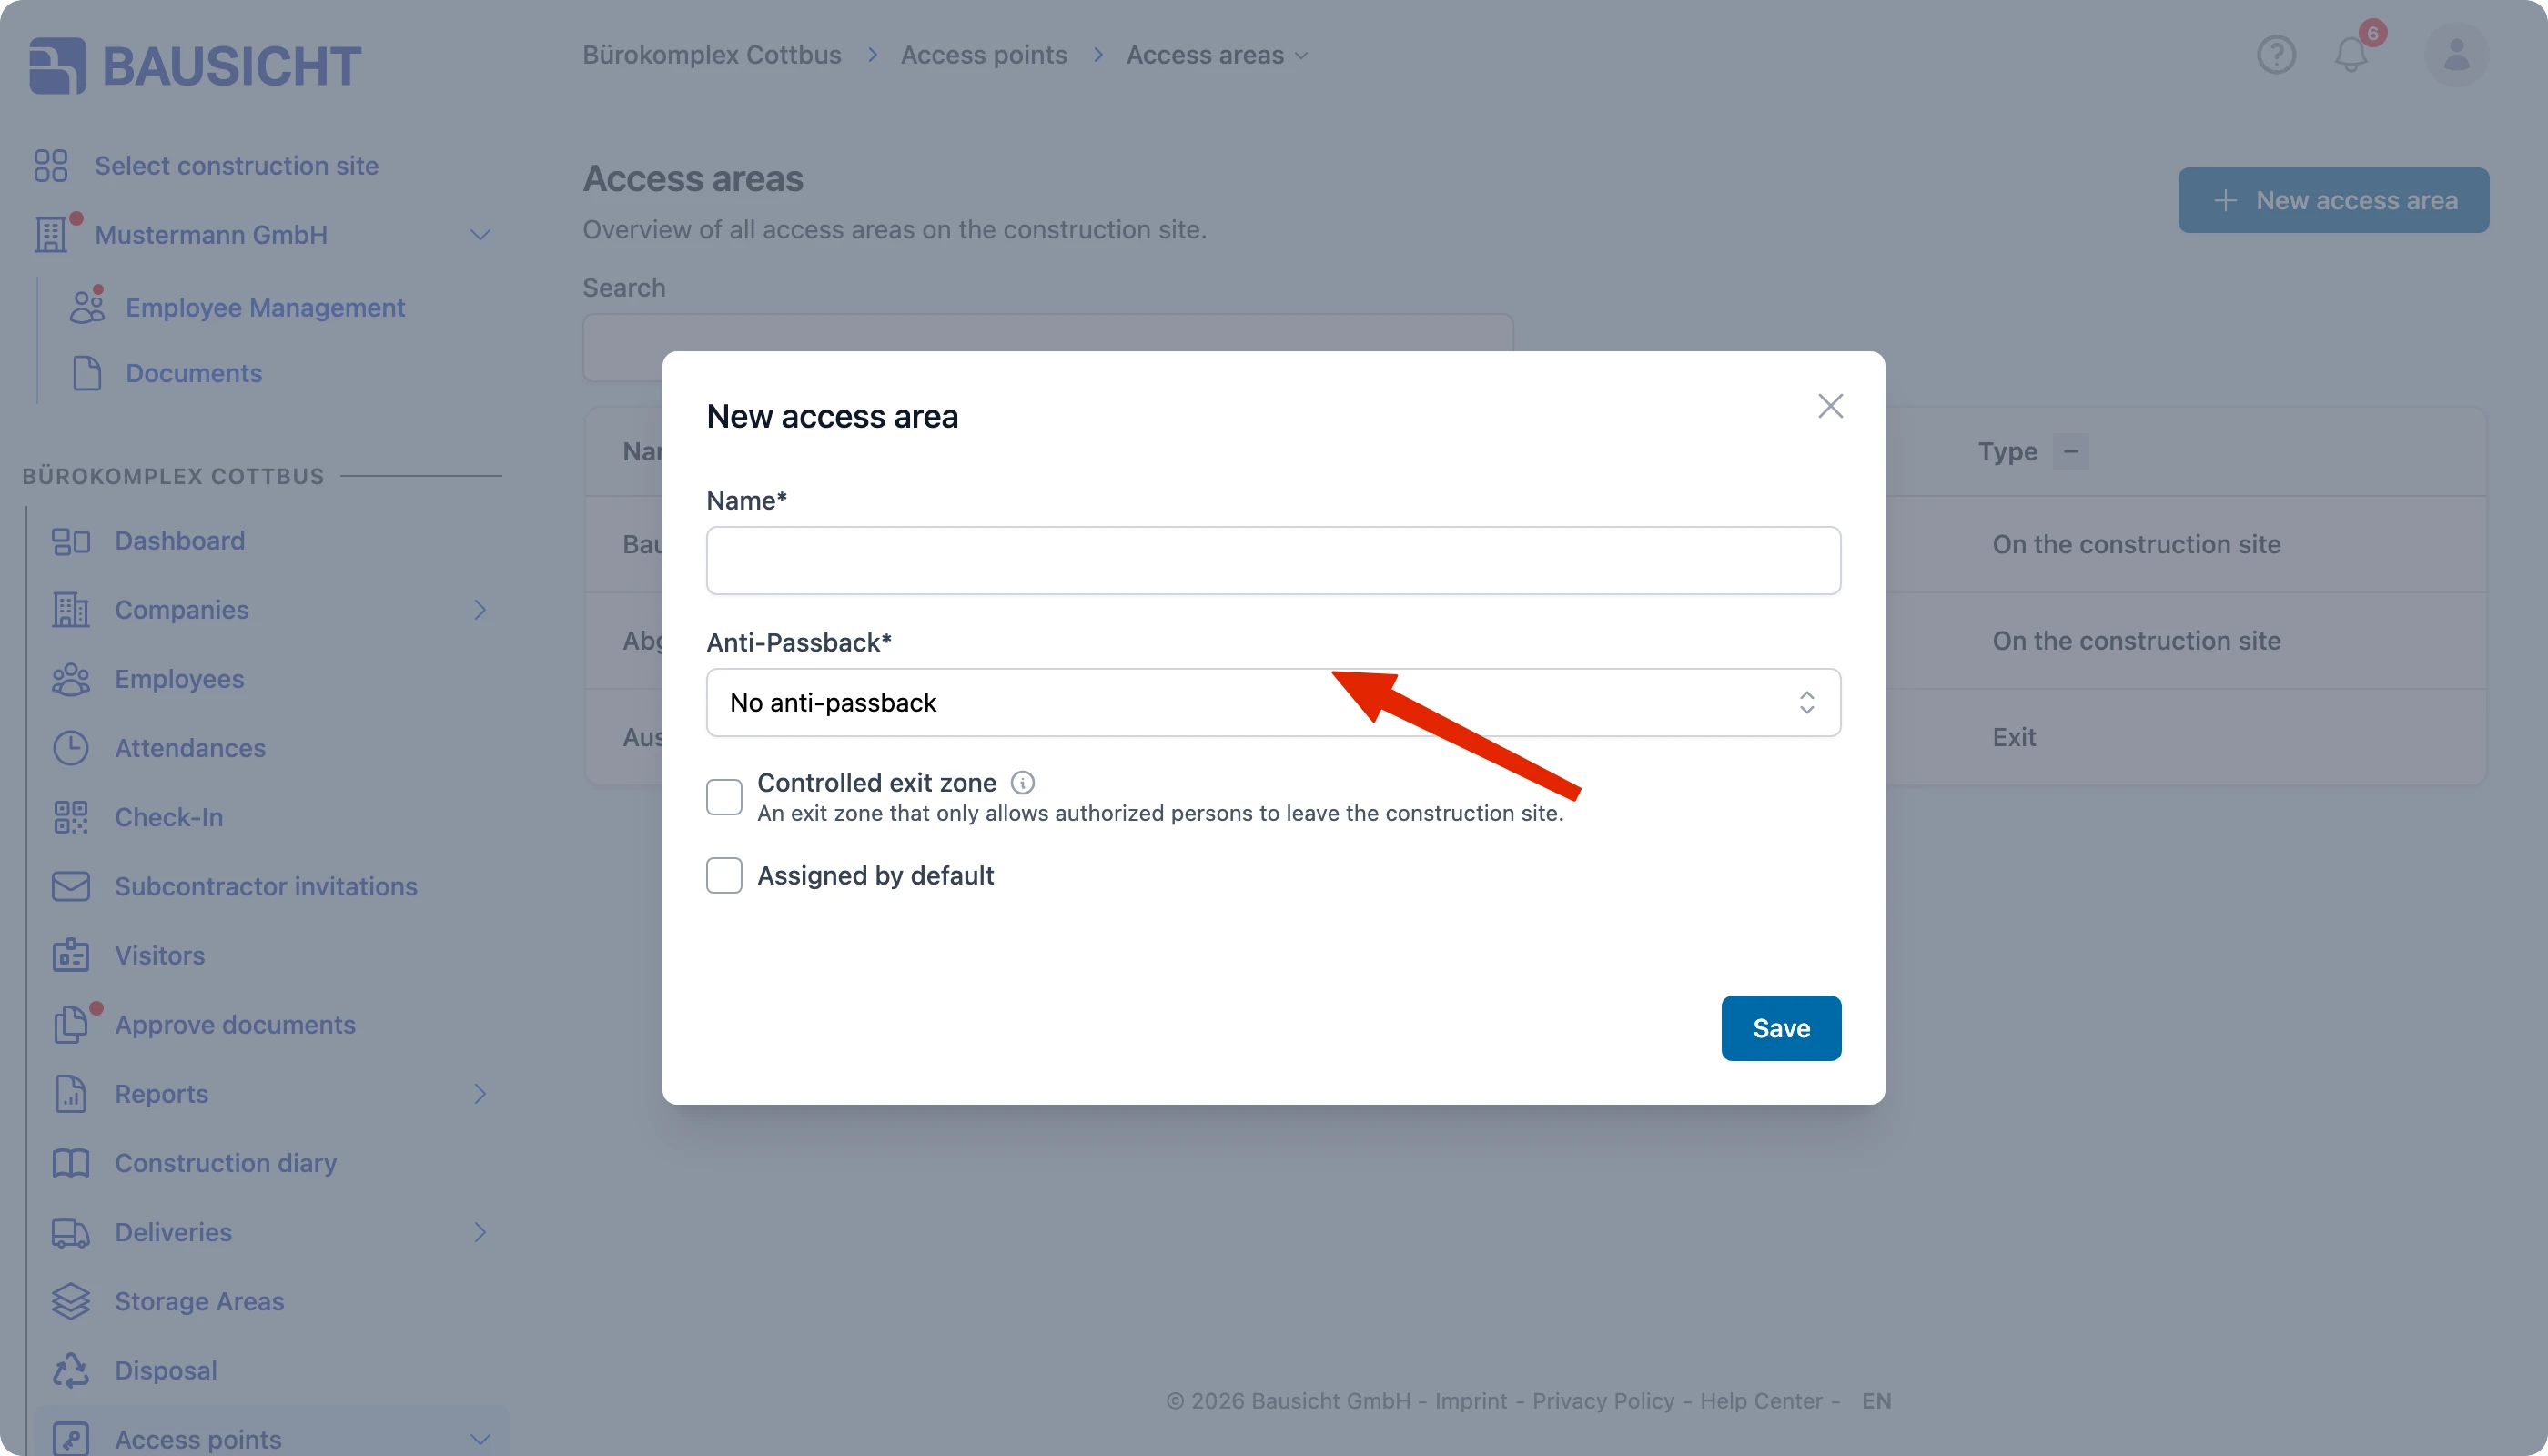
Click Save. The area is then available as an entry and exit zone for every access point.

Note: Only enable Assigned by default for areas that really are open to everyone. For safety or restricted areas, leave the option off and grant access deliberately.
Also read:
How do I grant exceptions for anti-passback and lockout time?
Also read:
How do I create access points myself and open them remotely?
Need further help?
If you need further assistance with access areas, our support team is happy to help.