
How do I set up my notifications?
- Where to find it
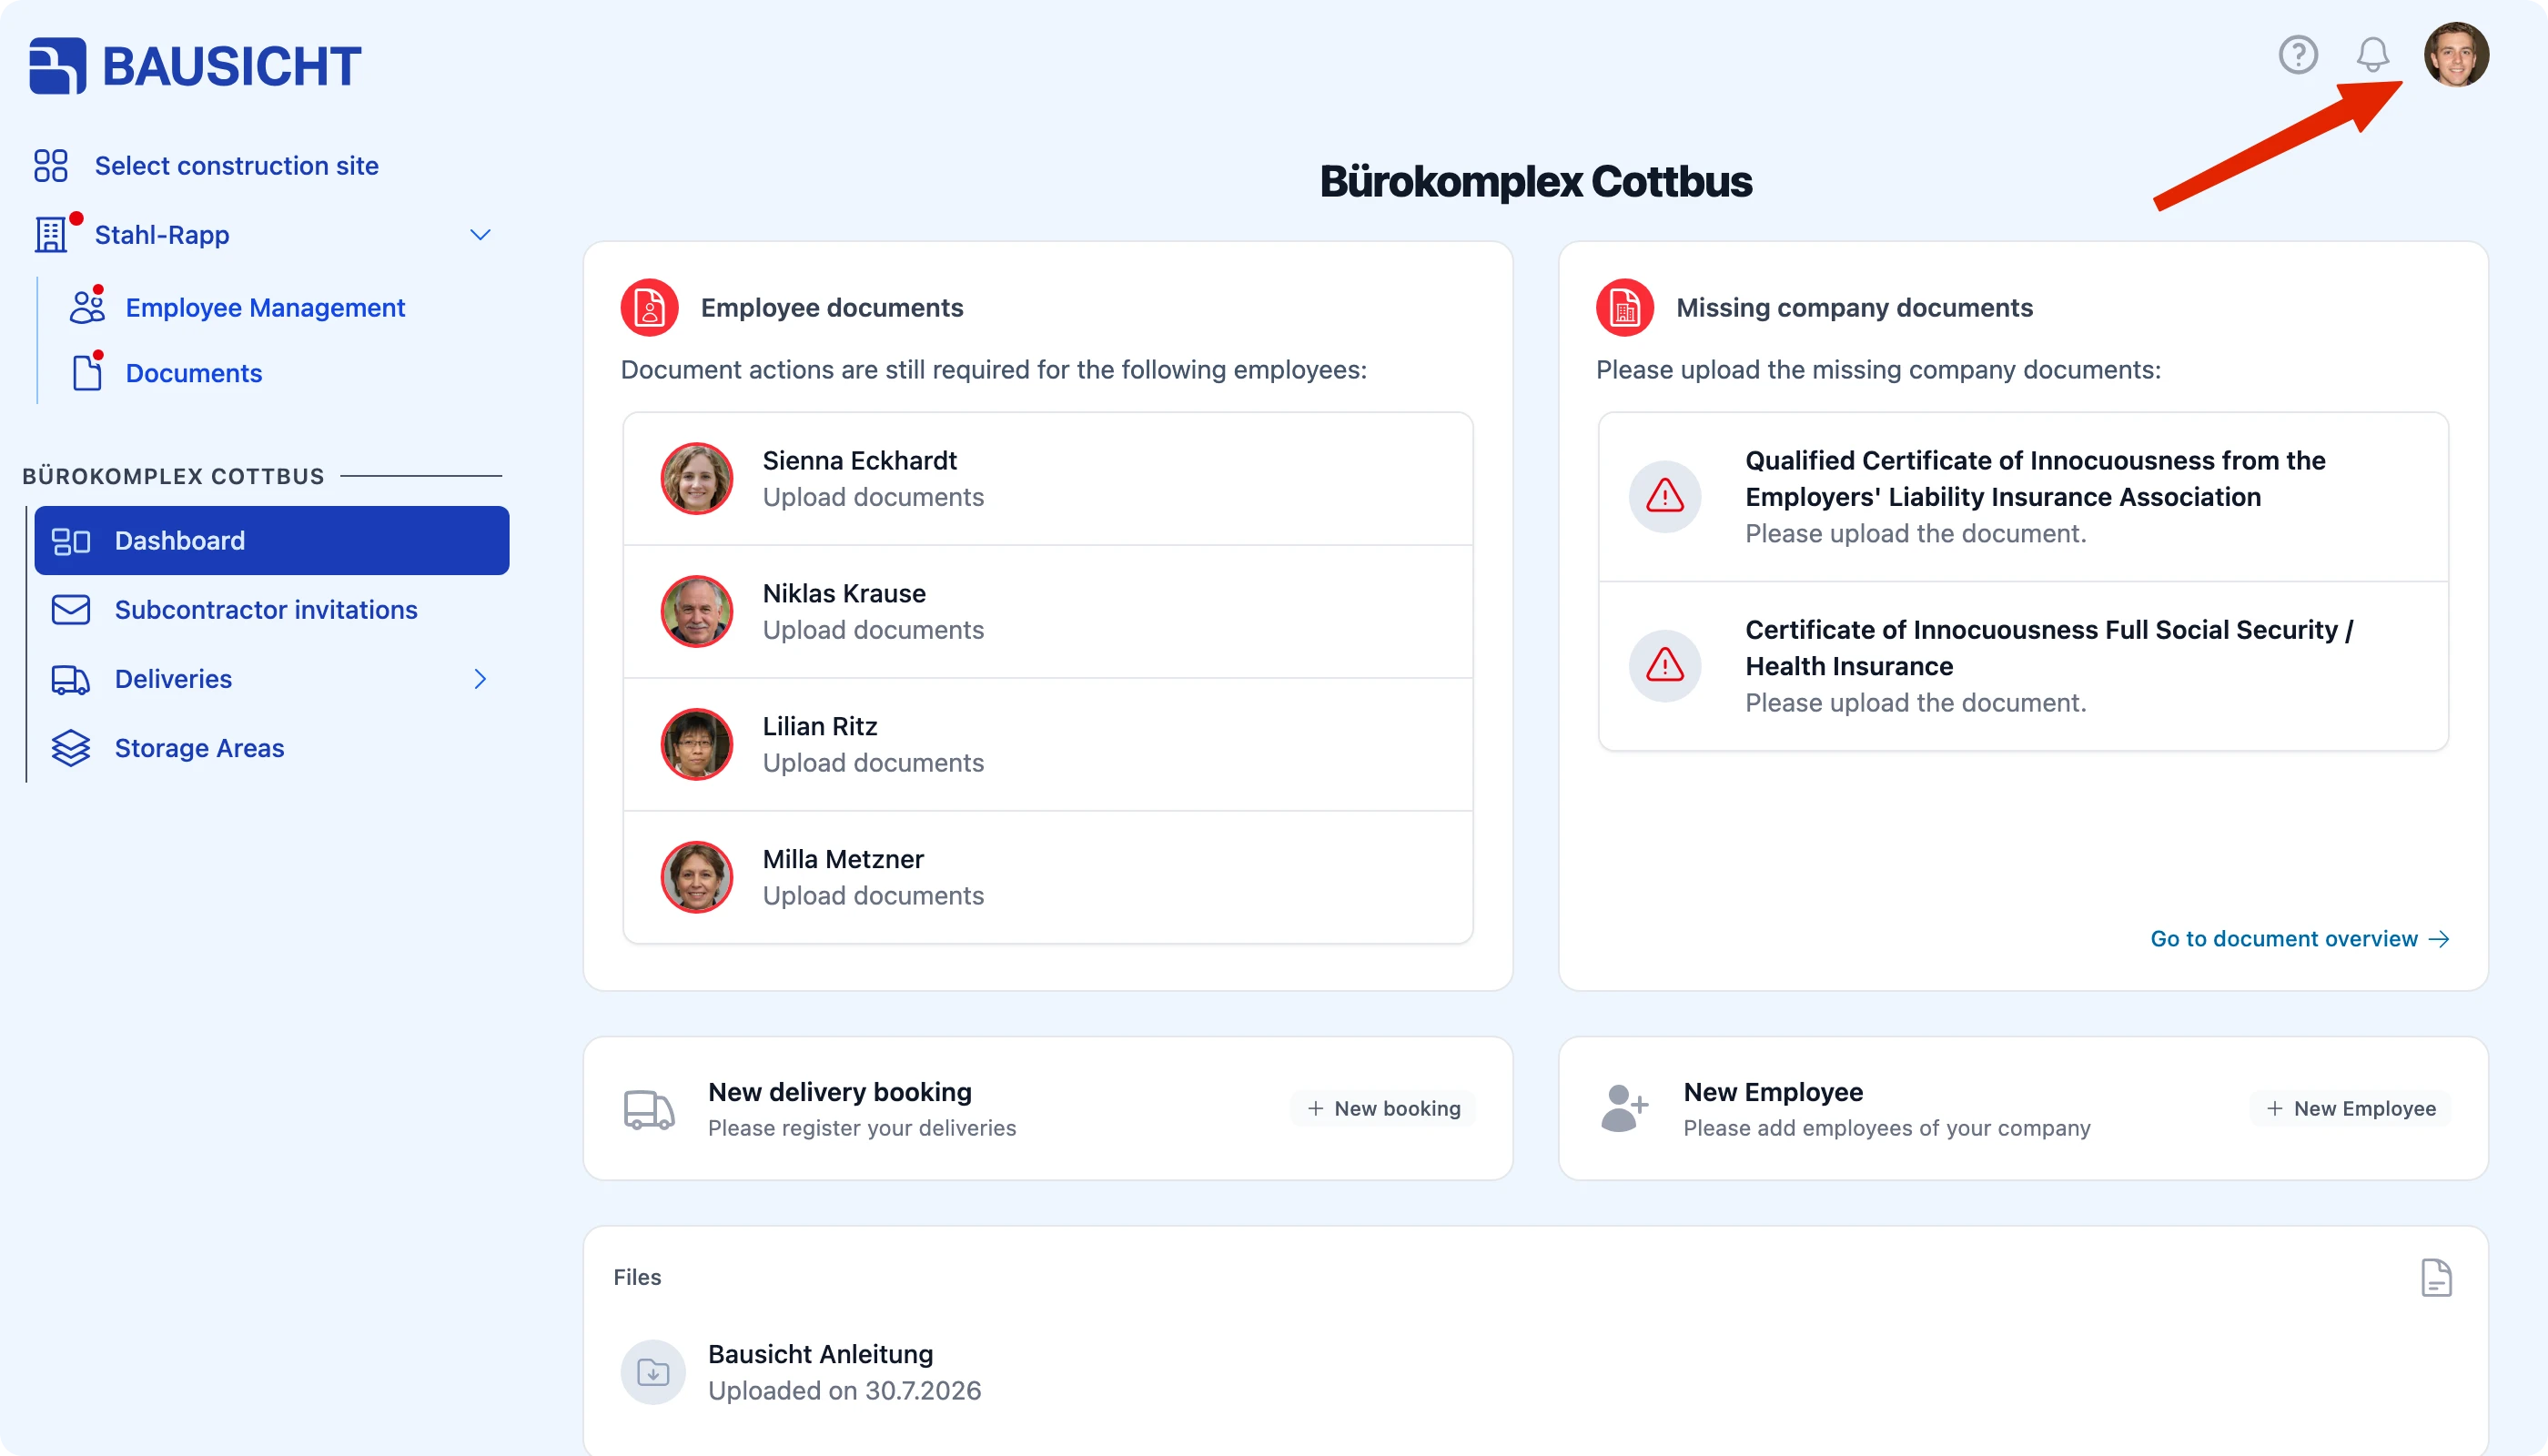
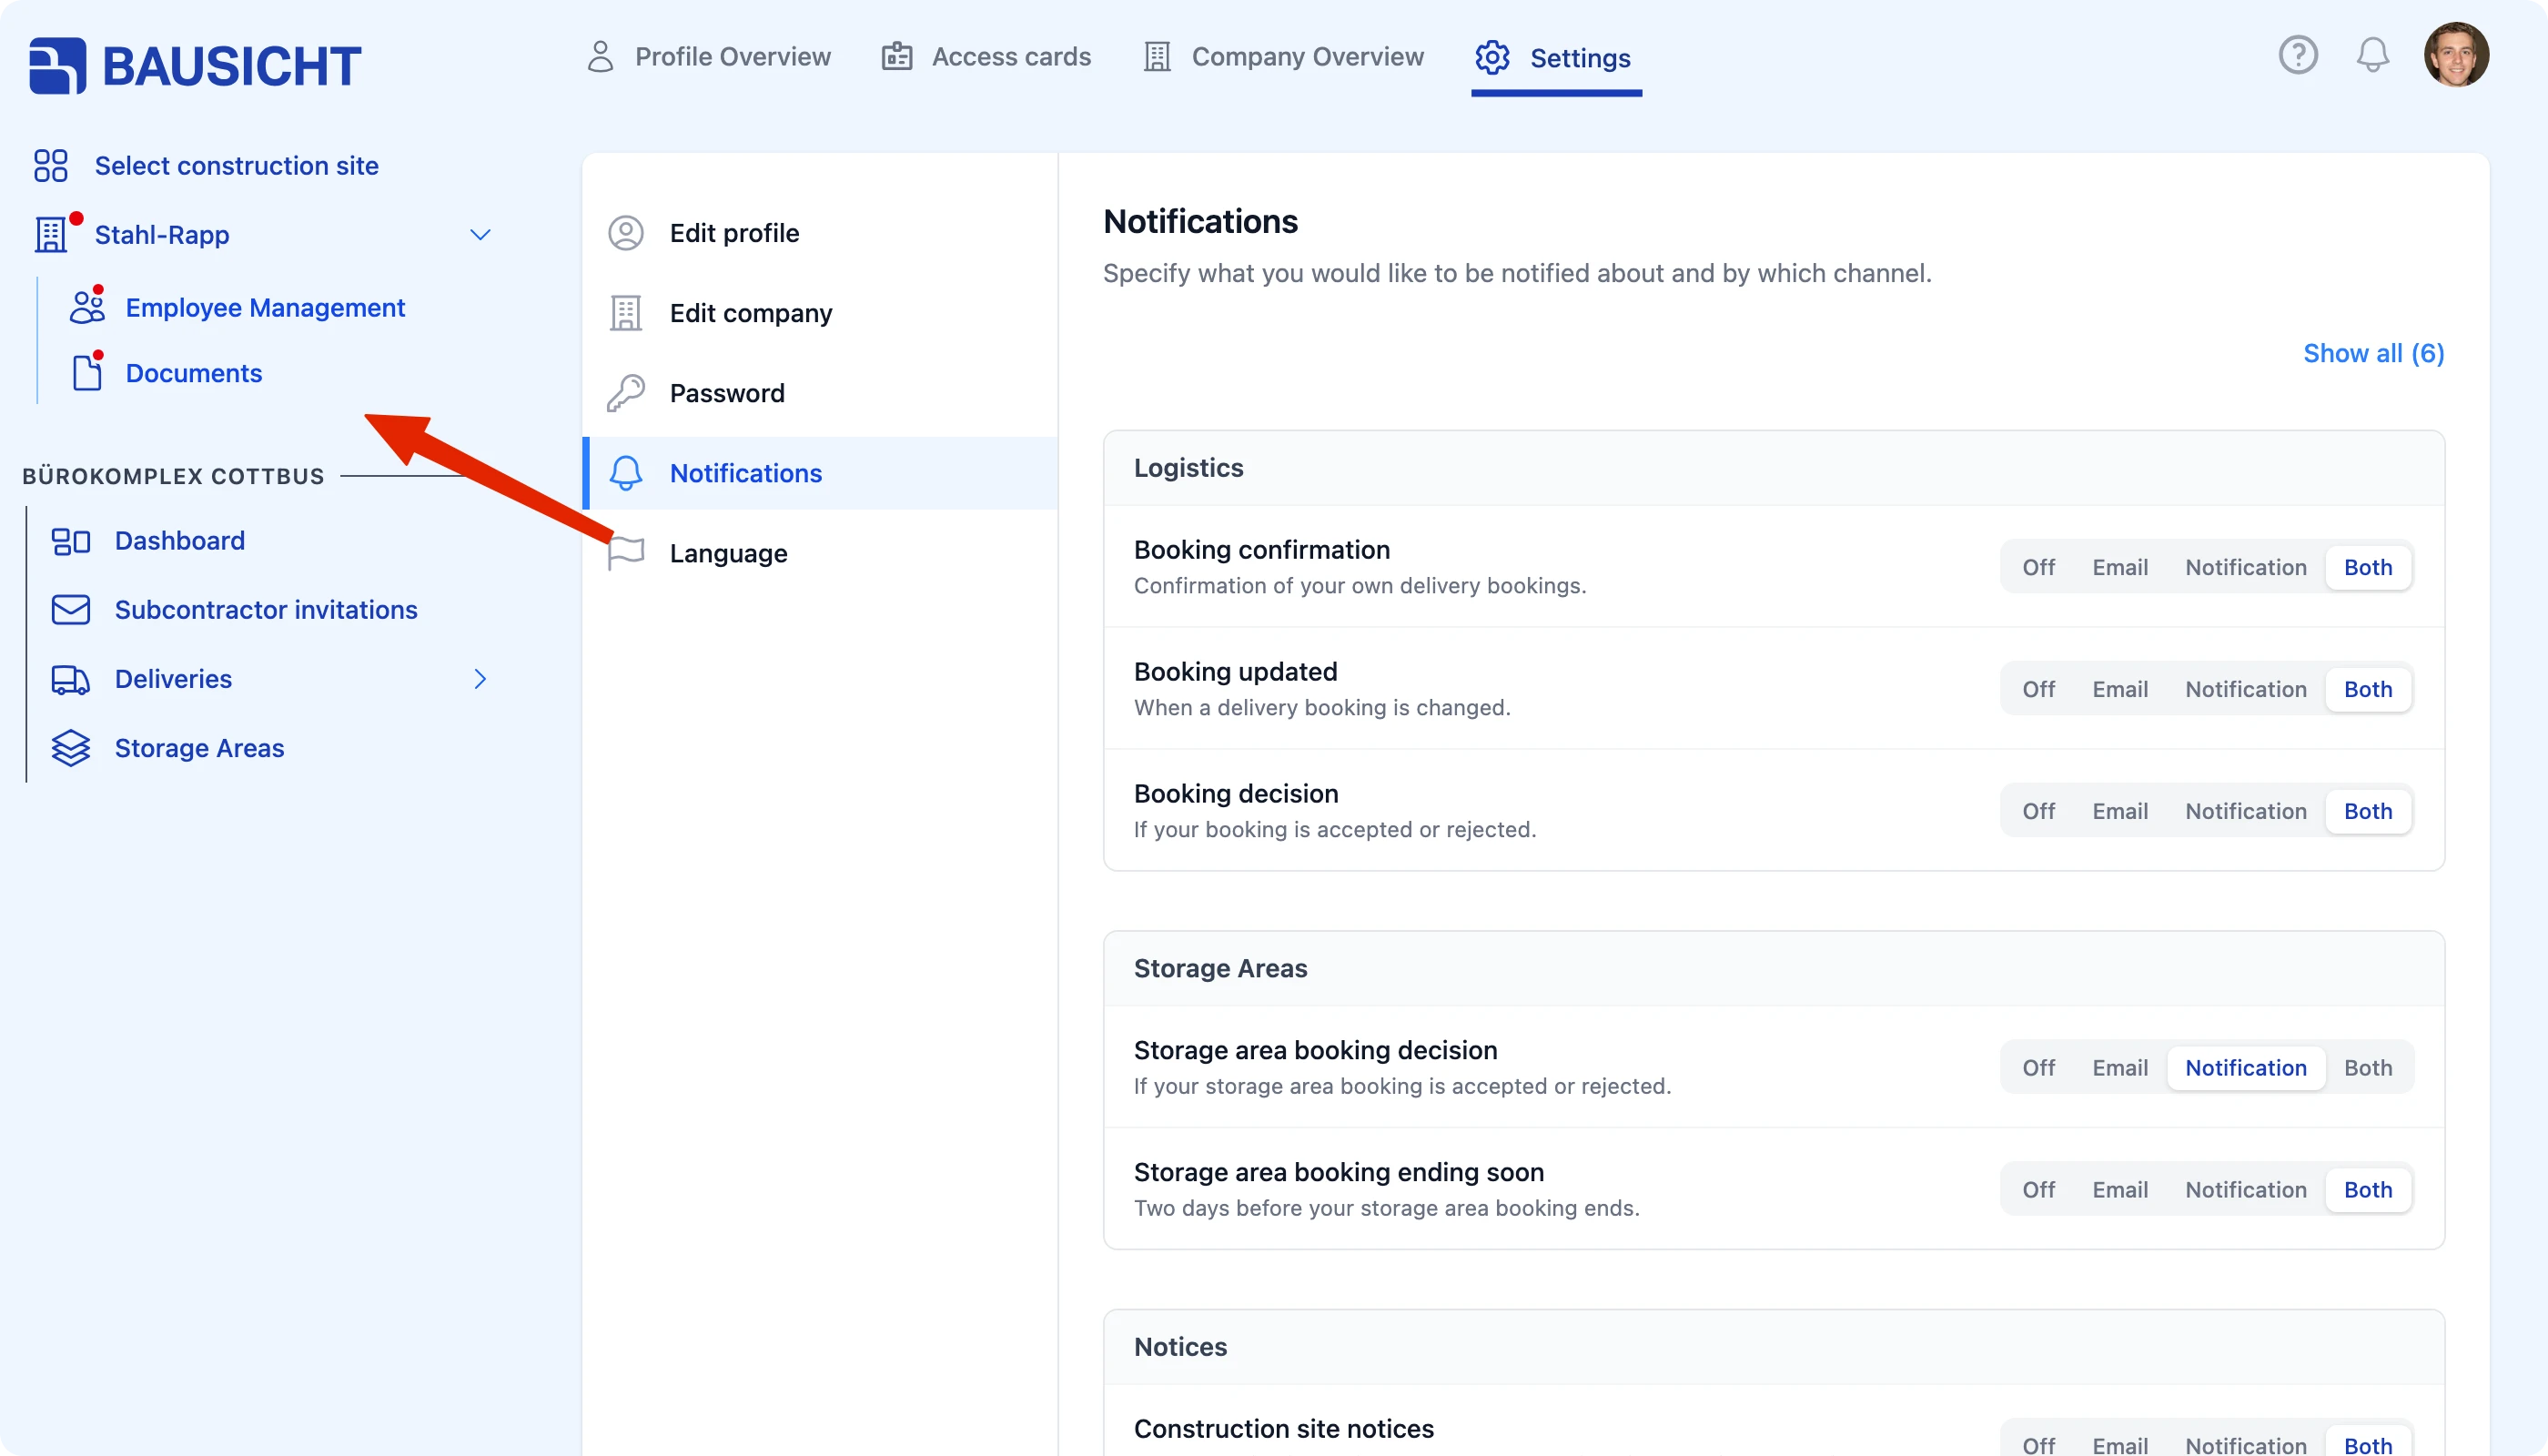
- Profile picture → Settings → Notifications
- How to check the result
- The saved selection sets Off, Email, Notification or Both for each event and can be adjusted per construction site.
On this page
So that nothing slips through – a rejected document or a record that is about to expire, for example – you decide yourself what you are informed about and how.
Quick answer
| Step | Description |
|---|---|
| 1 | Click your profile picture at the top right and choose Settings |
| 2 | Open the Notifications area |
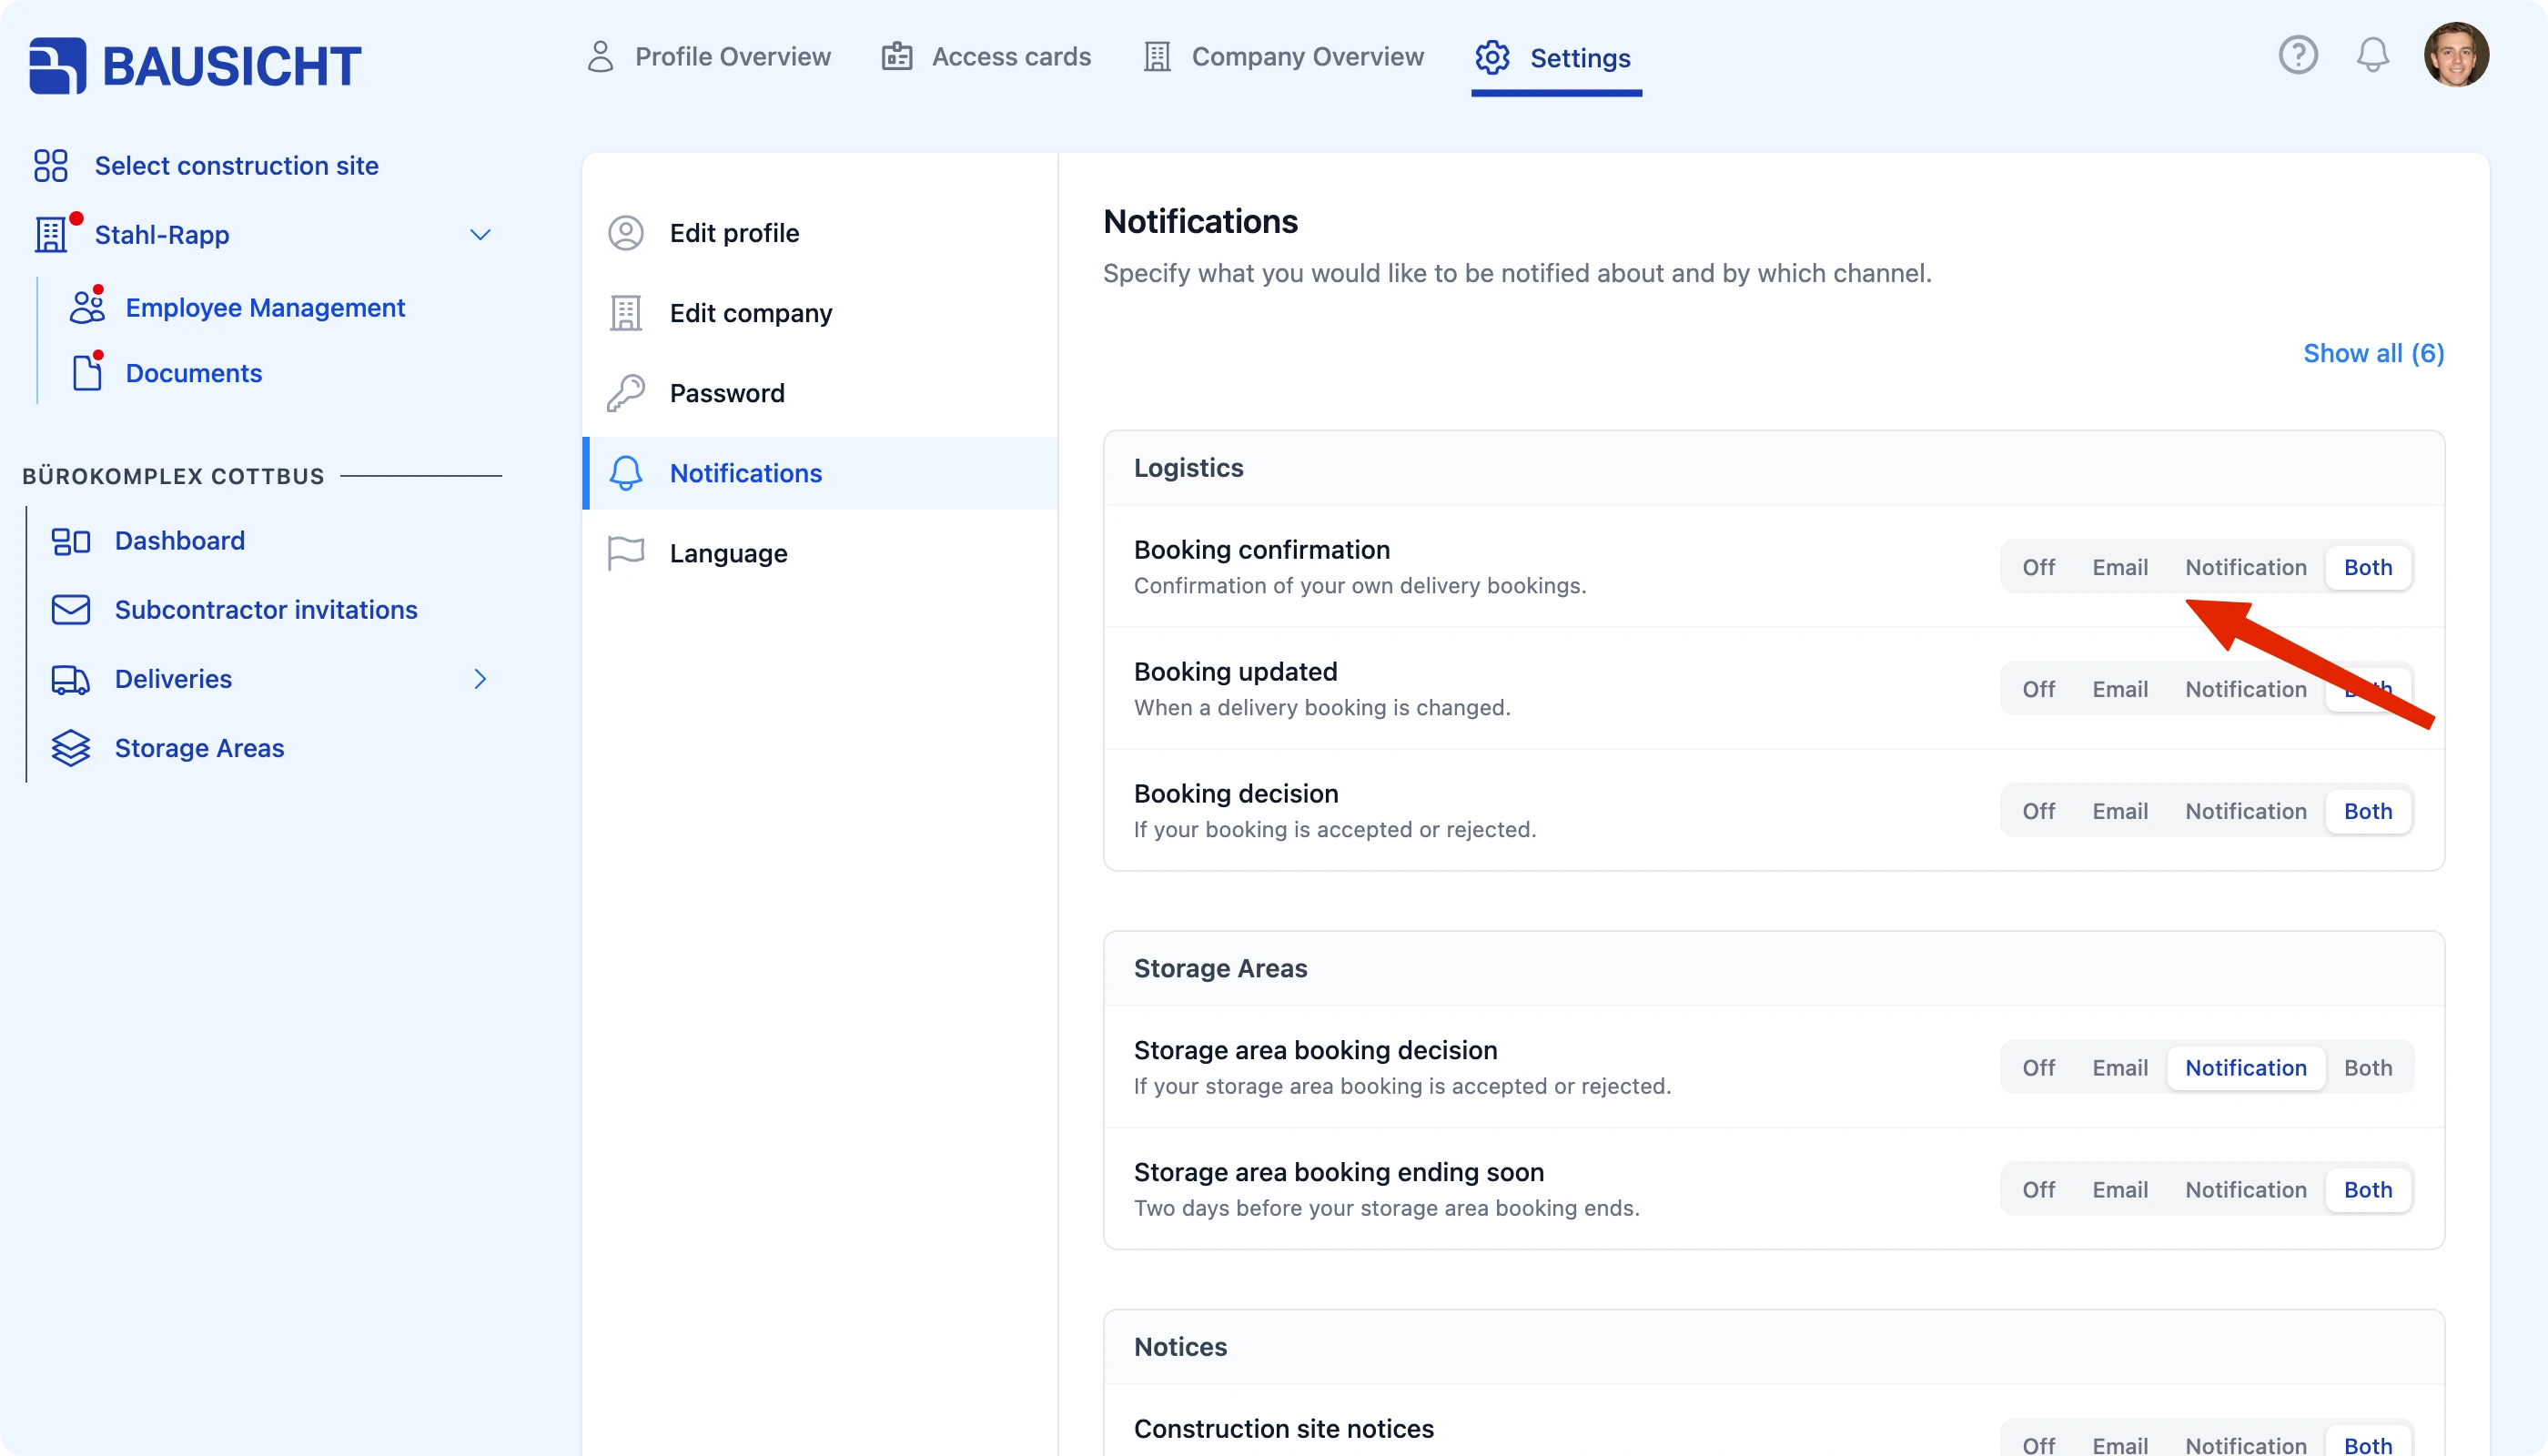
| 3 | Choose Off, Email, Notification or Both for each event |
Step 1: Open the notification settings
Step 2: Decide what you are informed about
Notifications are grouped by topic – among them Logistics, Storage Areas, Notices, Documents, Invitations and Access & account.
The Documents group is particularly relevant for subcontractors:
| Notification | Meaning |
|---|---|
| Document rejected | One of your documents was not approved |
| Expiring documents (summary) | Regular overview of missing or expiring records |
| New document on the construction site | A document was uploaded to one of your construction sites |
| Signature request and signature reminder | Your signature is required |
For each entry you choose the channel: Off, Email, Notification in the app or Both. The selection is applied immediately.
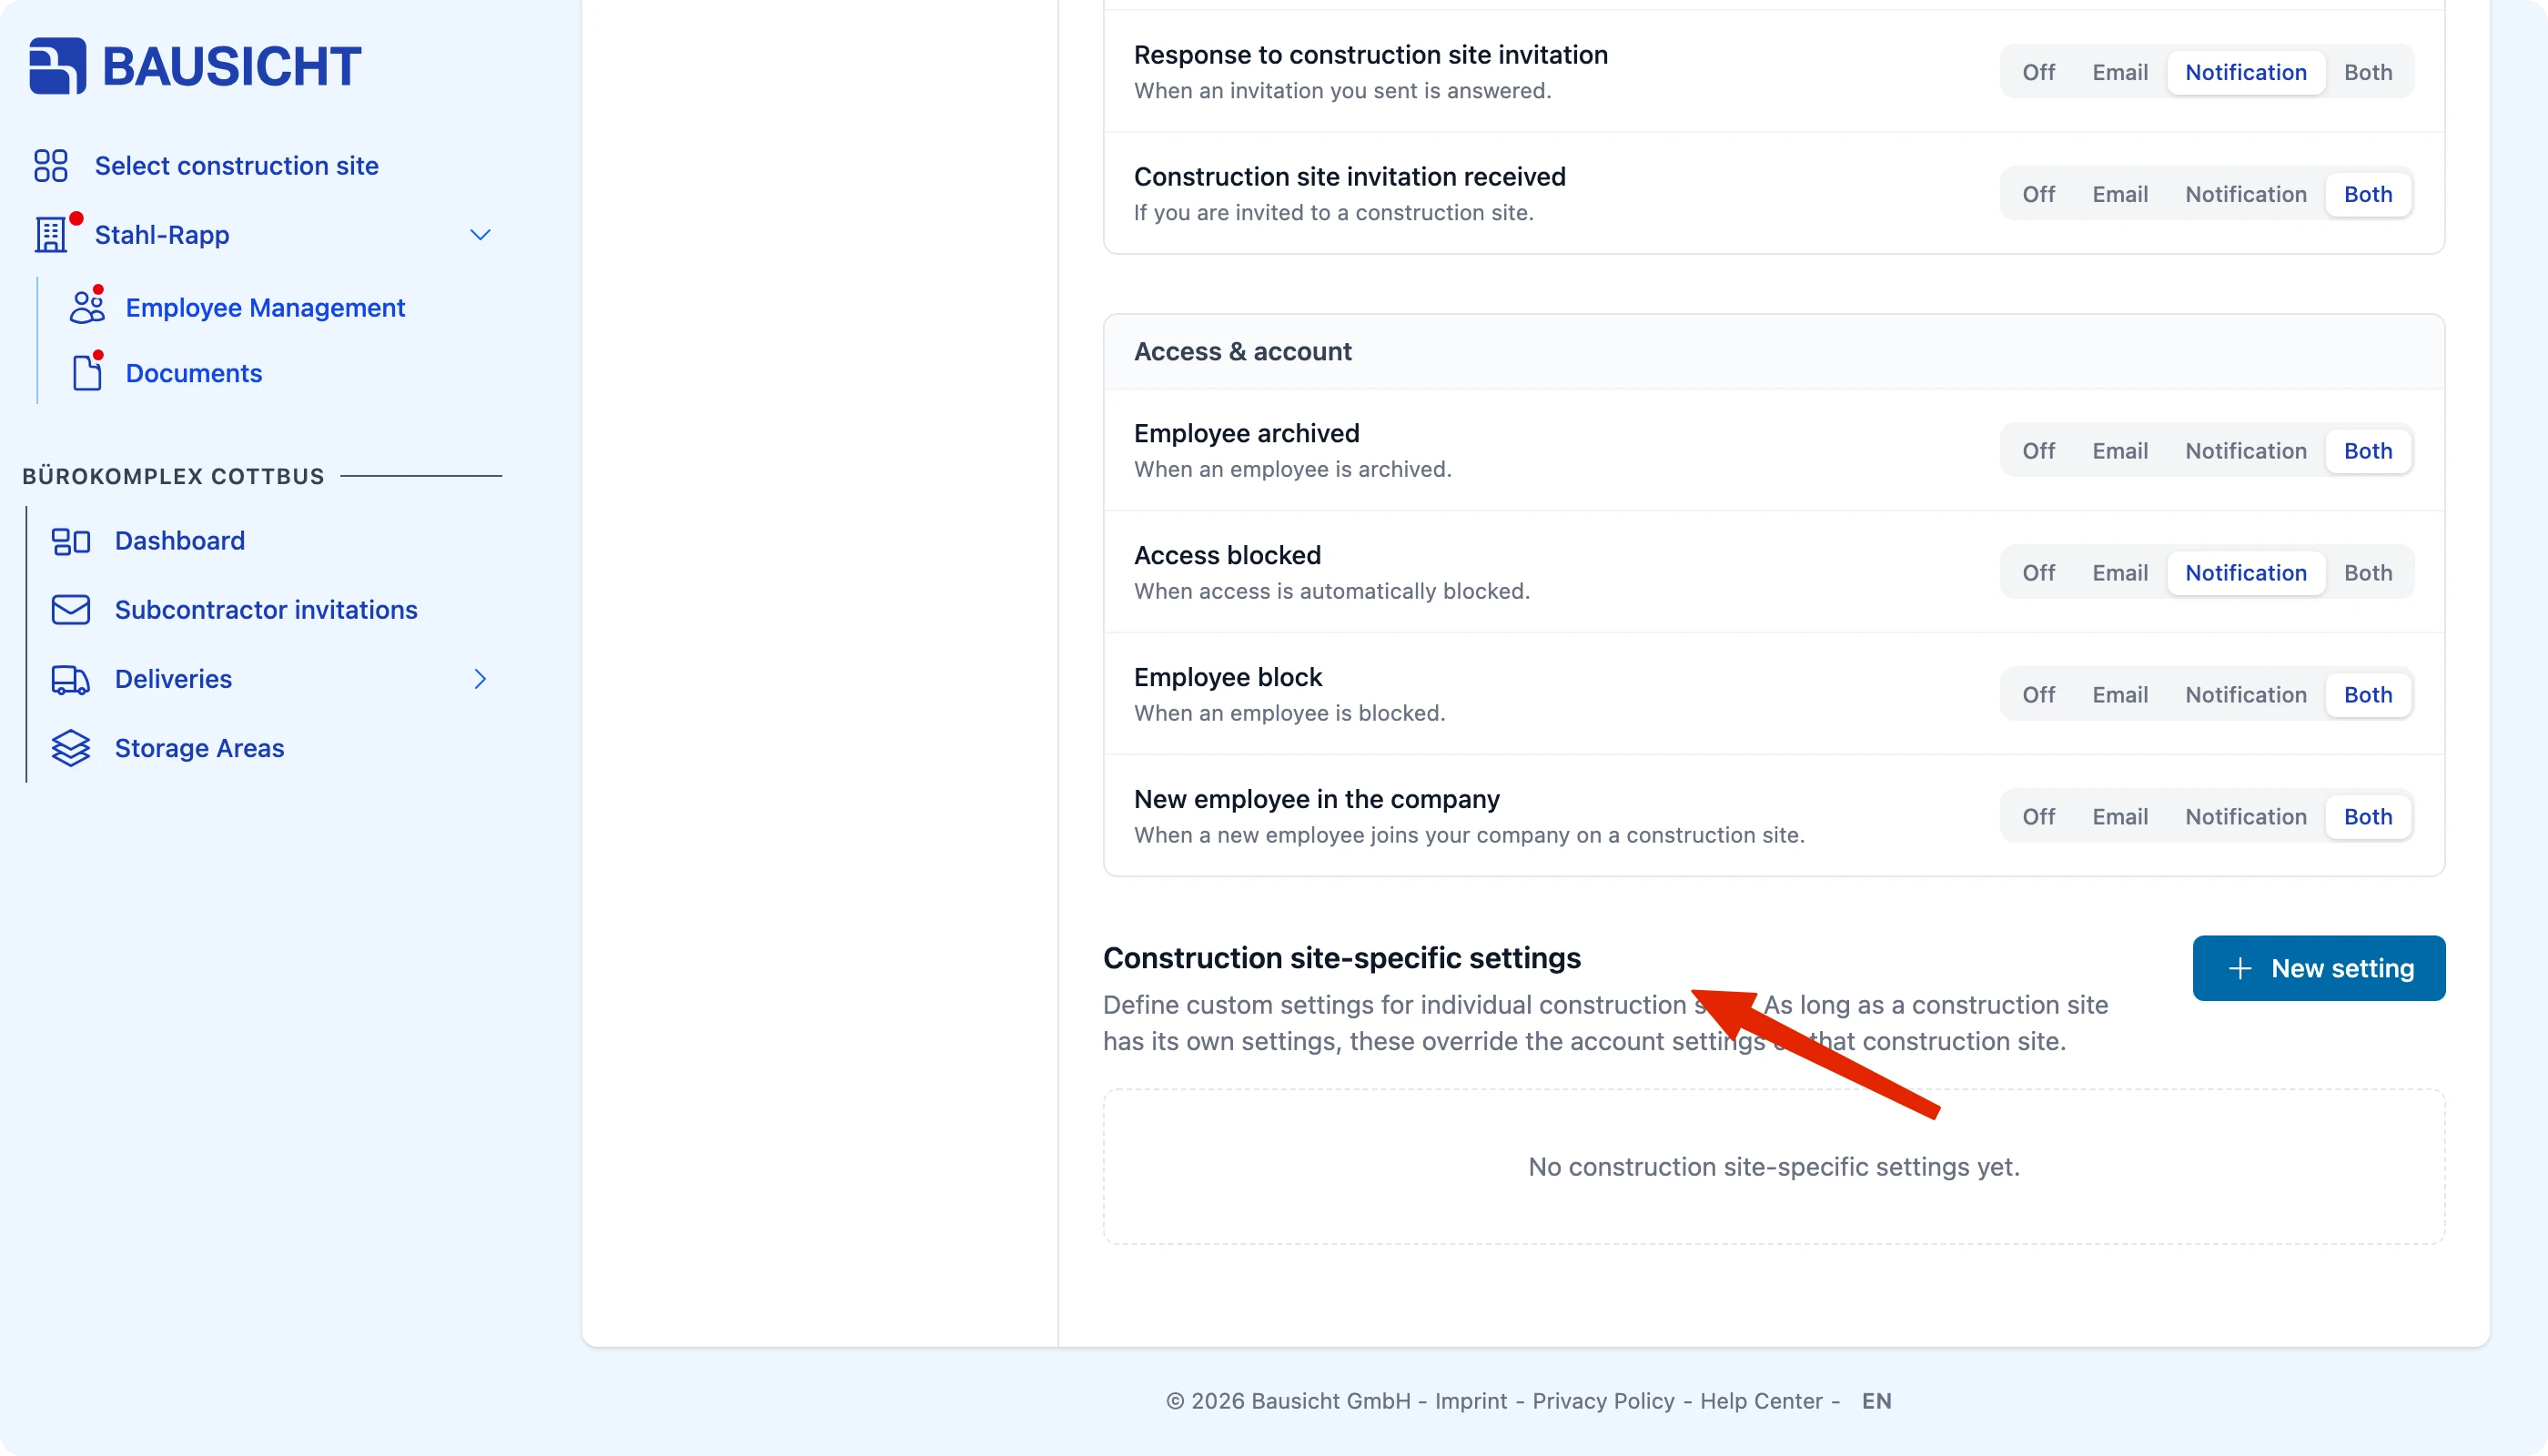
Step 3: Settings per construction site
At the very bottom you will find the construction site-specific settings. They override your general settings for individual sites – useful if you only want to be informed about every delivery on one particular project.

Tip: Keep at least Document rejected and Expiring documents enabled by email. Those are the two events that can block your employees’ site access in the worst case.
Need further help?
If you need further assistance, our support team is happy to help.